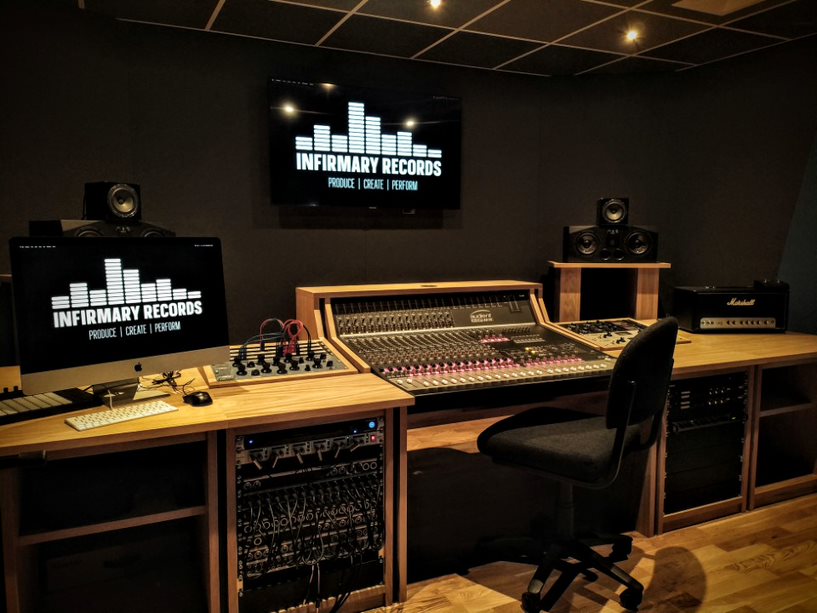
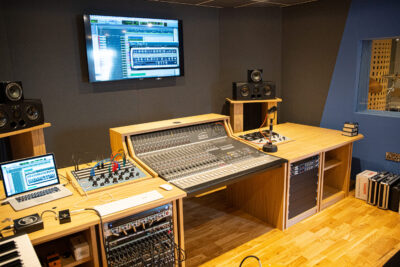
Martyn, our Studio Engineer at Infirmary Records is back with another blog post, ‘a short guide to recording Pt. 2’
This time around he will be looking at some conventional recording methods used in studios big and small, so you can start thinking about which technique might work best for your music. He will also be talking about a few terms used in the recording industry that you’ll come across all the time, and might be useful to know about, especially when working with other artists, engineers or producers.
 Over to Martyn…
Recording Methods
There are different ways of tracking (recording) songs in a studio, and which you choose will depend on what you’re comfortable with and the needs of the song. Here are a few typical examples:Band
Let’s say you’re recording drums, bass, guitar and vocals – when recording you could either do this live (everyone plays and is recorded at the same time) or you could record some parts live and record some parts as guide tracks (rough recordings to be used as guides for better ones later) or you could simply record every part separately, I’ve listed a few differences between each below: Option 1 – Live TrackingUsually, this is down to preference and what feels comfortable as a band, but there are some technical considerations too – for example, recording live often feels the best as it’s more like a gig or rehearsal, but it also means that you’ll getspill (sound from other instruments you might not want) on the separate parts of your recording, which ultimately means you have less control over the mix laterOption 2 – Solo TrackingRecording every instrument individually gives you the most freedom for editing and mixing later, but it often lacks a bit of ‘feel’ as the band aren’t actually playing at the same time, and it also might require click tracks (designed to keep the tempo and timing of your song together) whilst recording different parts. Not everyone feels comfortable recording with a click track or metronome, so again this is something to consider.Option 3 – Half & Half For these reasons, many artists often record drums live, with guitar and bass as guide tracks to be re-recorded later, and then track vocals last on top of the music. This is a nice compromise between playing together and having a bit more freedom to edit and mix creatively afterwards. Solo Acoustic
If you’re recording solo acoustic guitar and vocals, then this would probably lend itself to the live recording approach, as you’re only recording two sources (guitar and vocal) – if you want a bit more control for mixing and you’re happy to do so, you could record them separately, but it might not give the feel you’d like for your song. It’s also fairly true to say that recording acoustic guitar and vocals don’t usually take as long as a full band, so you might find you have more time to get creative in the studio and add additional instrumentation ‘in the box’ (using software), vocal double tracking or perhaps try a few different versions of your song to see which feels best. Production
If you’re coming into the studio with a track you’ve already put together yourself, maybe in another DAW (digital audio workstation) like Logic or Ableton then the process will often be different as you’ll be over-dubbing (the process of recording additional sounds) on top of your track. In this scenario, it’s likely you’ll be recording separate takes of additional instruments or vocals using the original track as your guide. This is especially common with electronic music, as many artists will create the majority of the song at home and then add the finishing touches in a studio, including mixing, with more accurate monitoring (the speakers used for mixing in recording studios) and mastering. These are just three scenarios of course, and in reality, recording sessions come in all shapes and sizes, but usually, the same processes apply – if in doubt, it’s worth chatting to the engineer when booking your session, I’m always keen to discuss this with a band or artist before getting started on the actual recording session so we’re on the same page. I’ve listed a few common terms below that you’ll often come across when recording that might be useful, although it’s likely you’ll probably have heard many of them already. Tracking – You’ll often hear people refer to tracking sessions or tracking consoles, tracking really is just the art of recording the individual instruments in your music onto separate channels or tracks.Control Room – Most studios have a separate space for tracking and monitoring. The control room is where you’ll find the mixing console, recording hardware etc and you’ll generally all sit here to listen back to your hard work! Live Room – As the name suggests, this is where people perform and are typically placed when recording.Spill – Usually this is referring to unwanted sounds from sources other than the one you’re trying to capture – the sound of a guitar in the background of a vocal recording for example. Too much spill is hard to manage in a mix, but sometimes it also adds a special character or tone to your song. Foldback / Cue Mix / Headphone Mix – There are a few different terms for this that all essentially mean the same thing – that is a separate mix of sound in addition to what the engineer might be hearing in the control room. For example, a singer will have a foldback mix of the song in their headphones when recording a vocal take on top. This is essential to get right when recording, as it can affect people’s performance and how they deliver their part. Mix – Mixing is the art of fitting all the parts of your song together so they balance, and sound the way you want them to. In practice, this always takes place after tracking. Mixing involves changing the relative volume or level of each part against the others, making changes to the timbre or tone of different instruments and adding any effects, I’ll probably look at this in a separate blog in the future as it’s a huge topic!Mastering – The art of taking your final mix and making it ‘radio ready’ – that is, suitable for distribution and playback on Spotify, Apple Music, Youtube or for physically releasing onto CDs, vinyl etc. Over-dubbing – Recording additional parts over the top of existing ones, whilst listening to the originals. For example, recording a guitar solo over an existing rhythm guitar part. Double-tracking – Similar to over-dubbing – but in this instance, we are trying to record an additional identical copy of the original sound, used especially with vocals. You’ll hear this technique in many genres and styles of music, as it helps to ‘thicken’ up the original take and create more impact and interest in the mix.Guide Tracks – These are usually rough recordings designed to be followed as guides, and are not usually used in the final mix. Typically they are recorded quite quickly to allow other players to record their parts. For example, a drummer will often record live while the guitarist and bassist record guide tracks for them to follow. DAW – Simply refers to ‘Digital Audio Workstation’ – software for recording and producing music like Logic, Pro Tools, FL Studio, Ableton etc‘In The Box’ – A fairly widespread phrase referring to making or editing music entirely within a digital audio workstation or software (no external sound sources or processing). Lots of music starts off this way. Monitoring / Monitors – Not to be confused with your computer screen – monitoring in studios is how we listen back to the sounds we’re recording, usually a pair of speakers set on either side of the main mixing console. Most professional studios will have two or more sets of contrasting monitors to hear what the mix will sound like on different setups. Hopefully, these will provide a useful reference for your own recording projects, even if you’ve heard some of them before it’s always handy to refresh your memory and see how they fit into what you’re working on at the moment!
 Over to Martyn…

